Editor User Guide
The editor is your primary tool for creating resumes. Through the editor, you can create resumes with various formats and layouts.
Overview
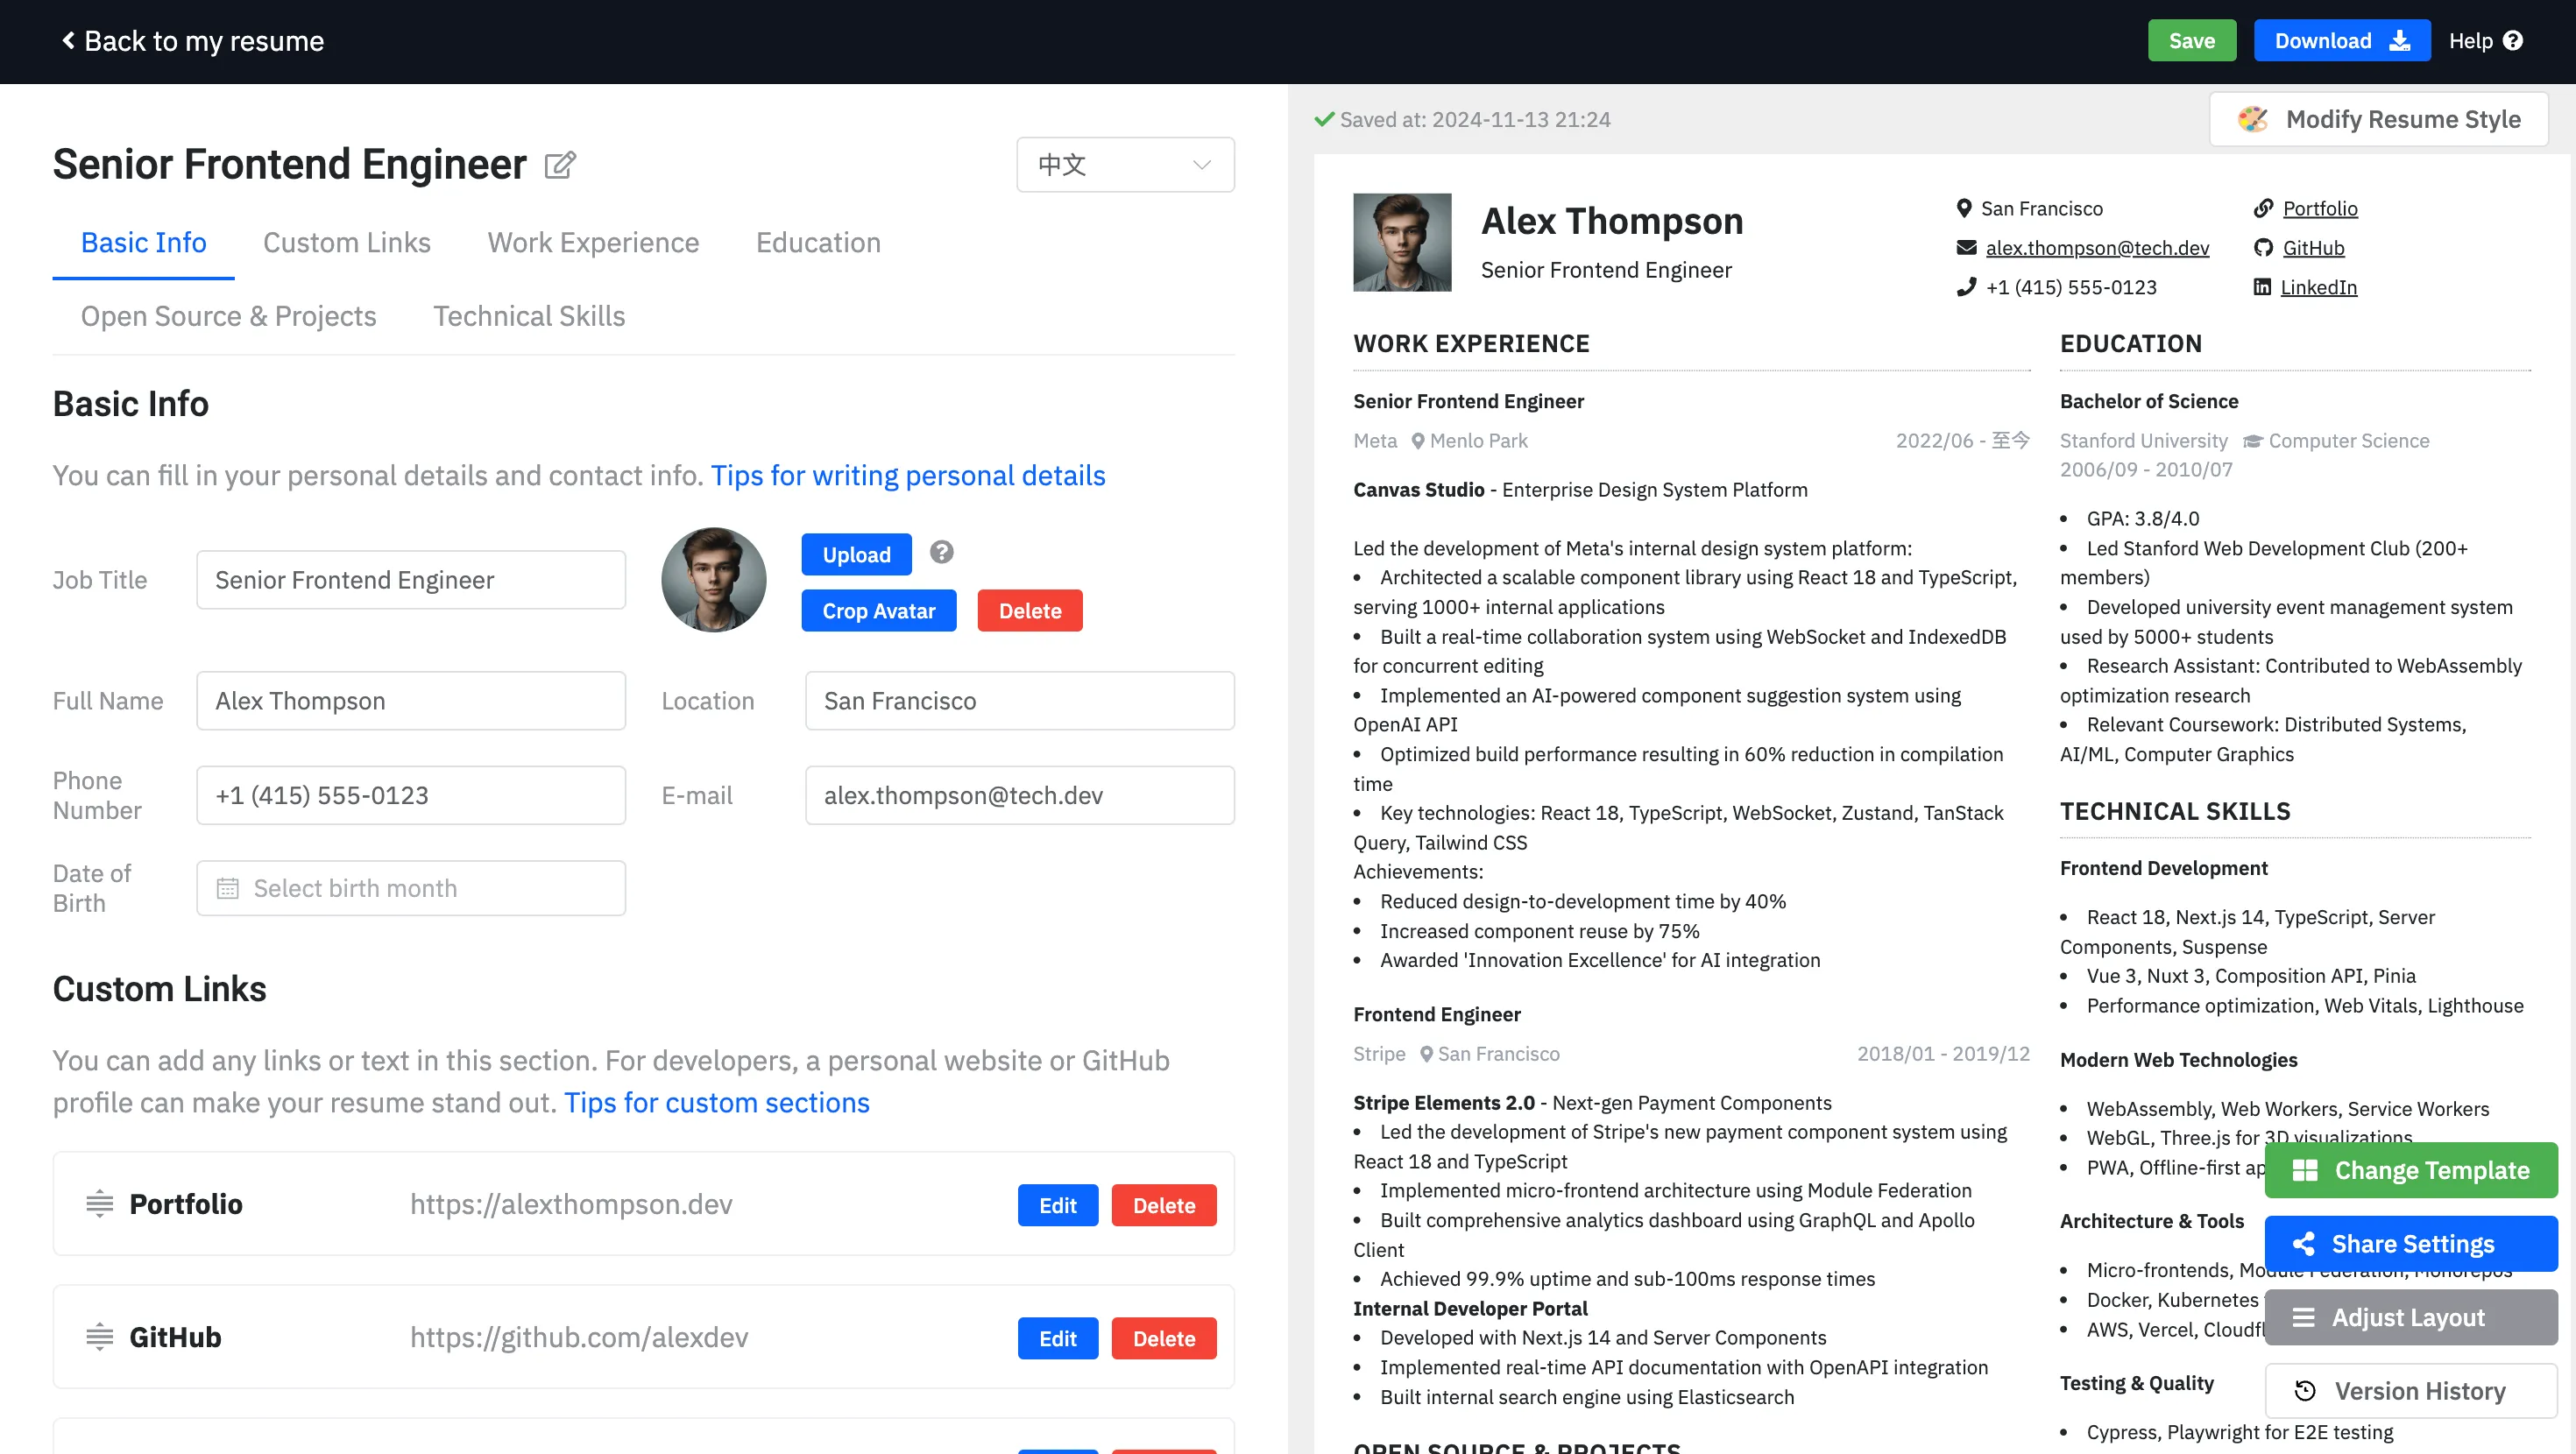 The editor consists of two main sections: the left side contains various forms for adding different types of information, and the right side provides a live preview of your final resume.
It also includes several functional operations:
The editor consists of two main sections: the left side contains various forms for adding different types of information, and the right side provides a live preview of your final resume.
It also includes several functional operations:
- Several functional buttons at the top:
- Save
- Adjust Layout
- Version History
- Share Settings
- Download
- Modify Resume Style
Modules
A resume consists of different types of information. A specific type of information is called a module, which can be created, deleted, and edited through the left-side editor.
Basic Information
Basic information includes essential personal details such as name, position, and profile photo.
Custom Links or Text
This module allows you to add a series of custom links or text, typically displayed at the top of your resume.
Work Experience / Education History / Professional Skills
These modules allow you to edit your work experience, education history, and professional skills. They are essential parts of your resume and are called default modules.
Adding New Items
- Click the Add New Experience button at the bottom of the module
- Fill in the corresponding information in the new block
- Click Save and Continue to complete the creation process
Editing Existing Items
- Click the Edit button on the right side of the item you want to edit
- Fill in the corresponding information in the expanded block
- Click Save and Continue to complete the editing process
Deleting Items
- Click the Delete button on the right side of the item
- Click Confirm in the popup dialog to complete the deletion
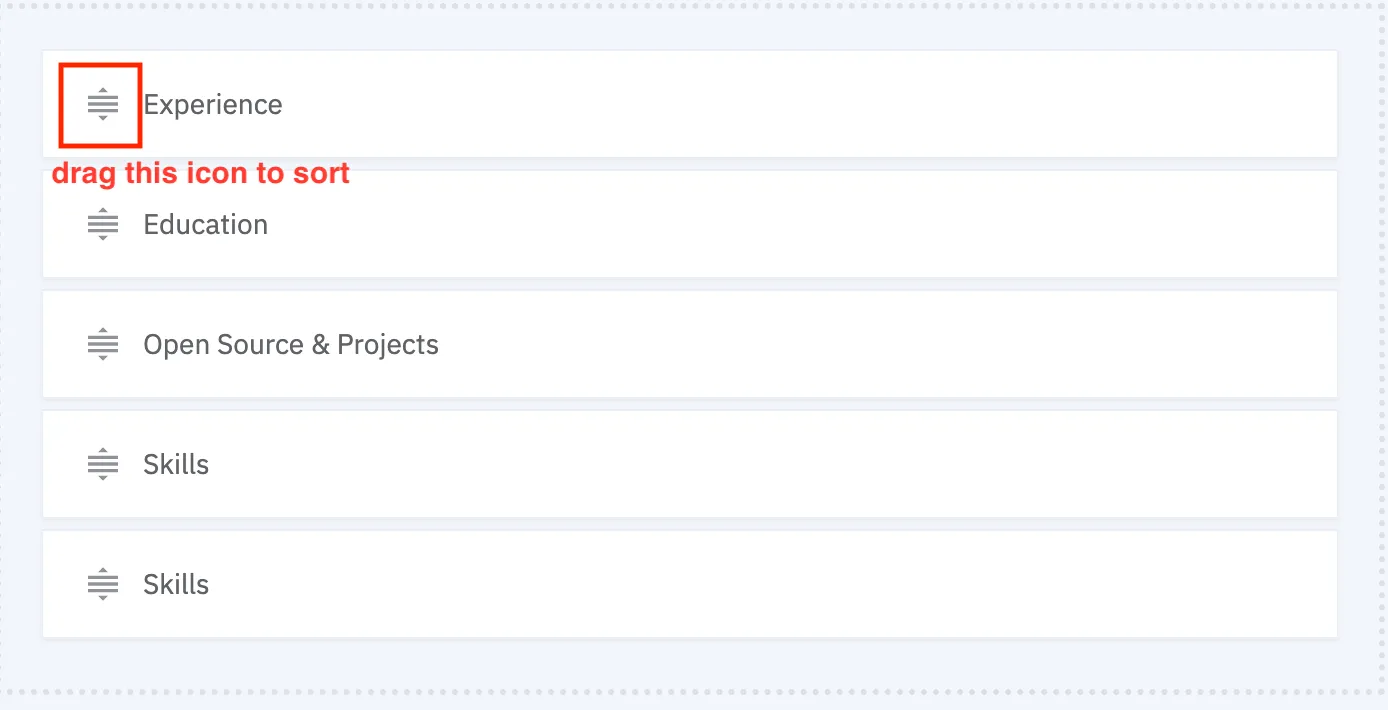
Item Sorting
- Find the three-line icon at the front of the item you want to sort
- Hold and drag the icon to complete the sorting process
Hide/Show
Default modules cannot be deleted, but you can hide them when needed. When these modules’ data is empty, their titles and content won’t appear in the resume.
Custom Modules
You can add custom modules by clicking the corresponding button. Options include fully customizable modules and preset modules.
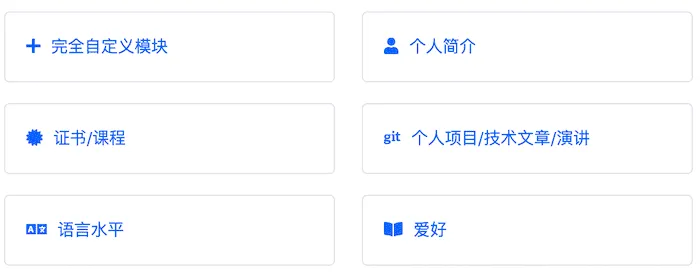
- Fully customizable modules have two modes:
- Complex module (containing multiple items, like work experience)
- Simple module (only includes title and description, like personal profile)
- Personal Profile
- Certificates/Courses
- Personal Projects/Technical Articles/Presentations
- Language Proficiency
- Interests
Module Layout and Tag Mode
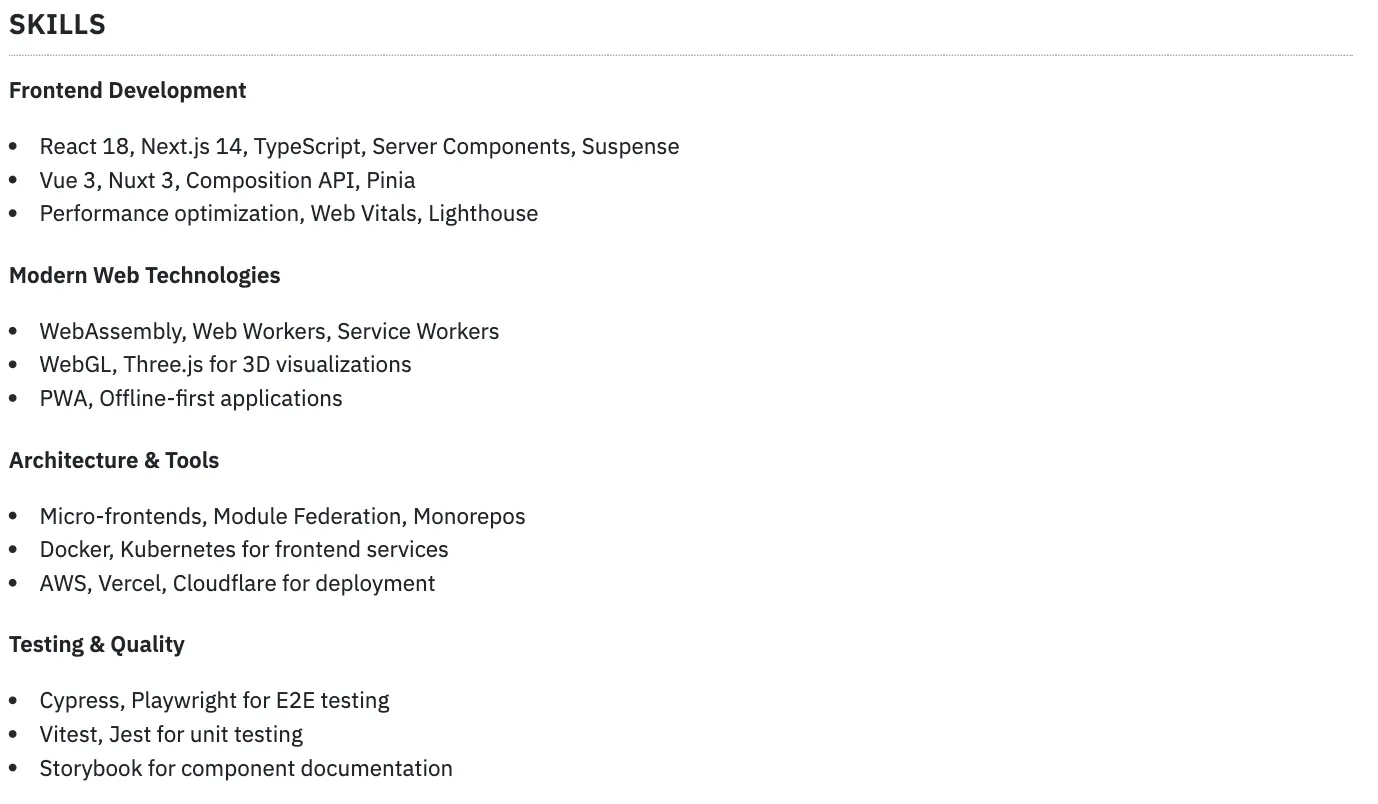
Single/Double Column Layout
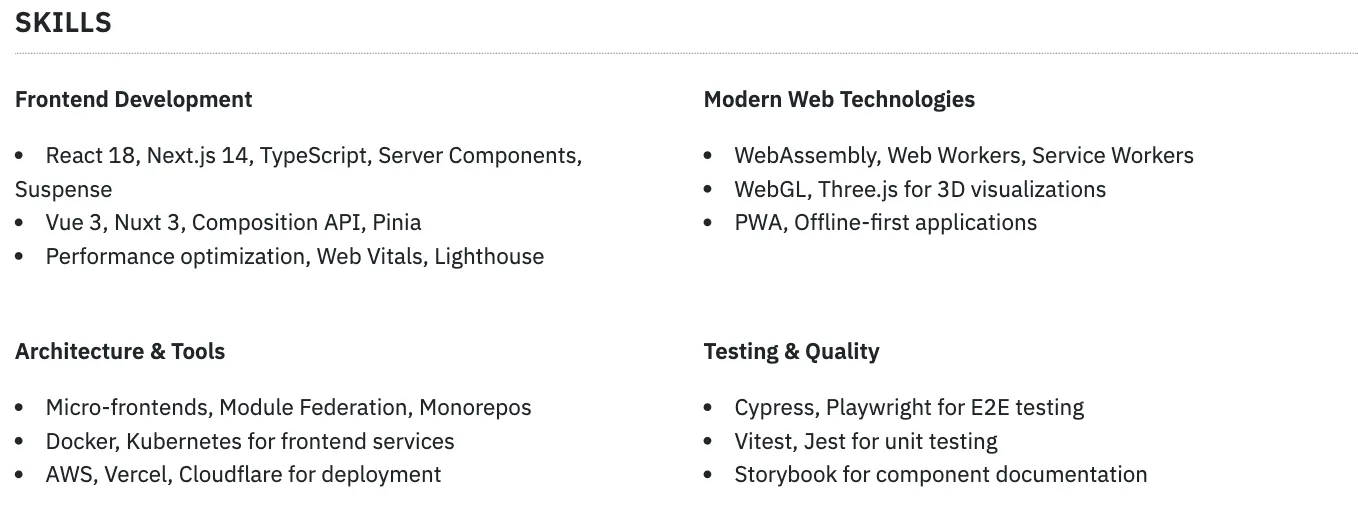
Complex modules support two layouts. You can toggle between (double-column / single-column layout) by clicking the switch on the right side of the module title. Double-column layout can display more content.

Single-column Display
Double-column Display
Tag Mode
You can toggle between (normal / tag mode) by clicking the switch on the right side of the title. Normal mode displays standard information, while tag mode presents information in a more concise way.
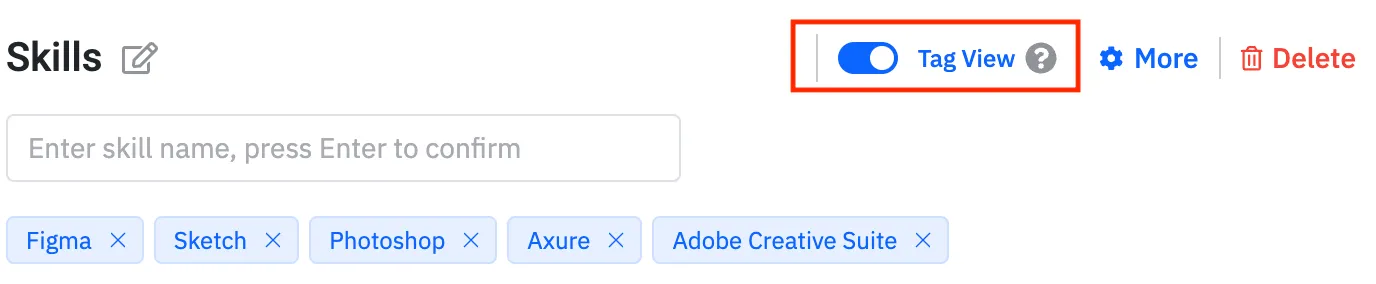
Display After Enabling Tag Mode

Changing Templates
- Click the Modify Resume Style button in the top right of the preview area
- A sidebar will appear showing all available templates. Find your preferred template and click theTemplate
- The preview area will update
Modifying Theme and Fonts
Changing Theme
- Click the Modify Resume Style button in the top right of the preview area
- A sidebar will appear with circular theme buttons under the Change Theme Color title
- Click a button to switch themes, and the preview area will update accordingly
Changing Fonts
- Click the Modify Resume Style button in the top right of the preview area
- A sidebar will appear,click the second tab Font Settings
- Click the dropdown menu to show available fonts, select your preferred option, and the preview area will update
Adjusting Layout
- Click the Adjust Layout button in the top menu
- A dialog will appear showing each module as a white block. Drag blocks to reorder them
- The preview area will update accordingly
Single Column Layout Adjustment
Double Column Layout Adjustment

Share Settings
Click the share settings button in the top menu to open the dialog. For detailed information, see the separate help document: Share Settings
Version History
The version history feature records operations history for each resume. Each module update is stored as a record in your browser’s local database, with a maximum of 50 recent records per resume.
- Click the Version History button in the top menu
- A sidebar will appear showing each operation as a record. Click the button on the right of any record to preview that version
- To revert, click the Revert to Selected Version button at the bottom
Downloading Your Resume
Method 1
- Click the Download button in the top menu
- A dropdown menu will appear offering two different layouts. Click your preferred layout to download
Method 2
You can also download resumes from your resume list:
- Go to the top navigation on any page
- Click My Resumes
- Click Download Resume in the resume list
- Select your preferred format from the dialog to complete the download
Text Editor
Complex modules use a WYSIWYG (What You See Is What You Get) editor for rich text editing. For detailed information, see the separate help document: Text Editor